How To Make A Simple DIY Wall Hanging
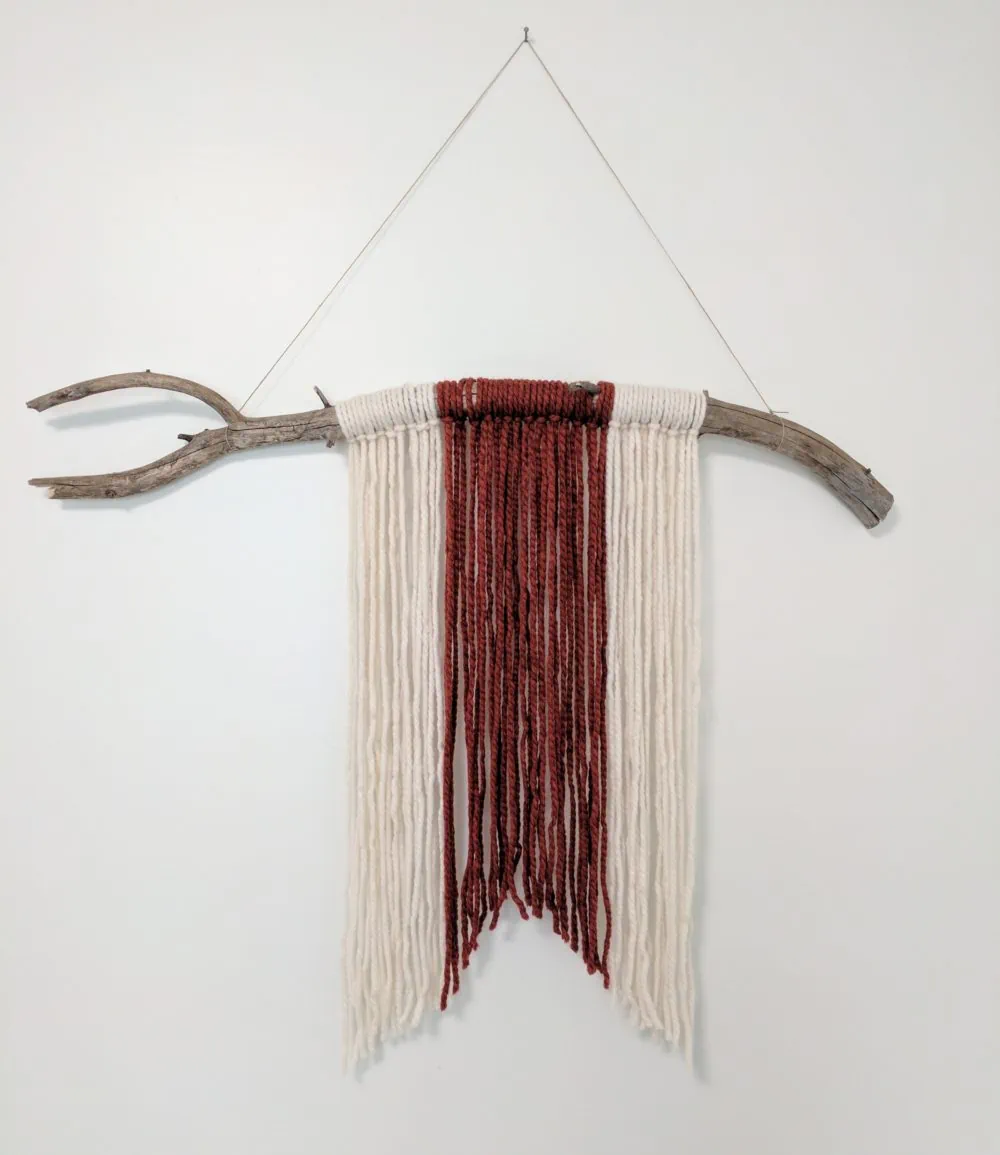
If you’re looking for a simple DIY project to make a decorating statement in your home, this hand woven driftwood wall hanging is your new best friend! Not to mention it costs next to nothing to make, win-win! Follow the 4 step tutorial below to get started!
Step 1: Gather Supplies
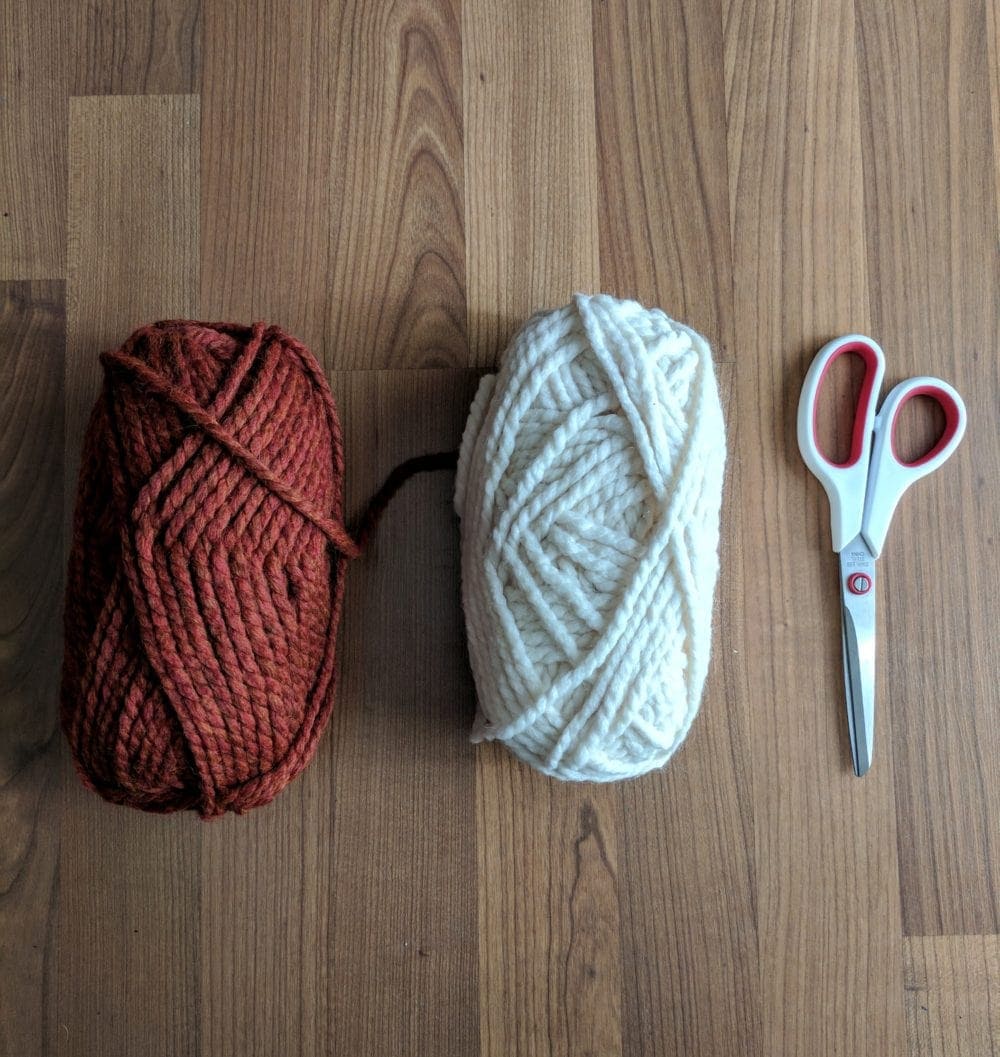
All you need is some yarn in the colors of your choice, fabric scissors (Amazon) and some type of rod or stick. I opted for the literal version that I picked up on our recent hike to give it some unique texture. Get creative here and choose materials that match the style you are going for.
This site uses ads and affiliate content as an Amazon associate earning on qualifying purchases. Disclosure.
Step 2: Make Your Cuts
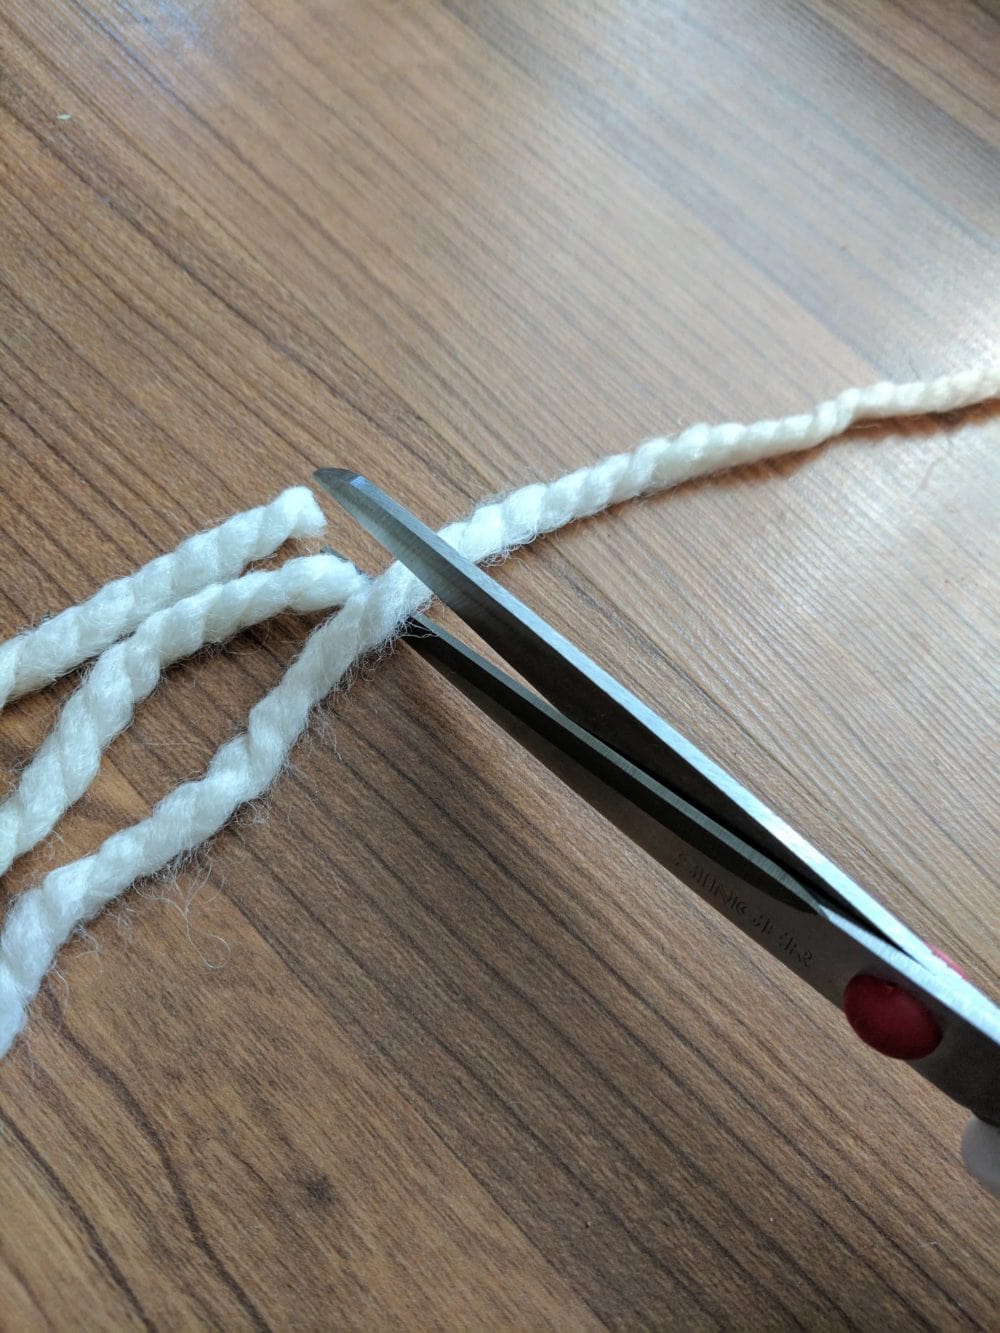
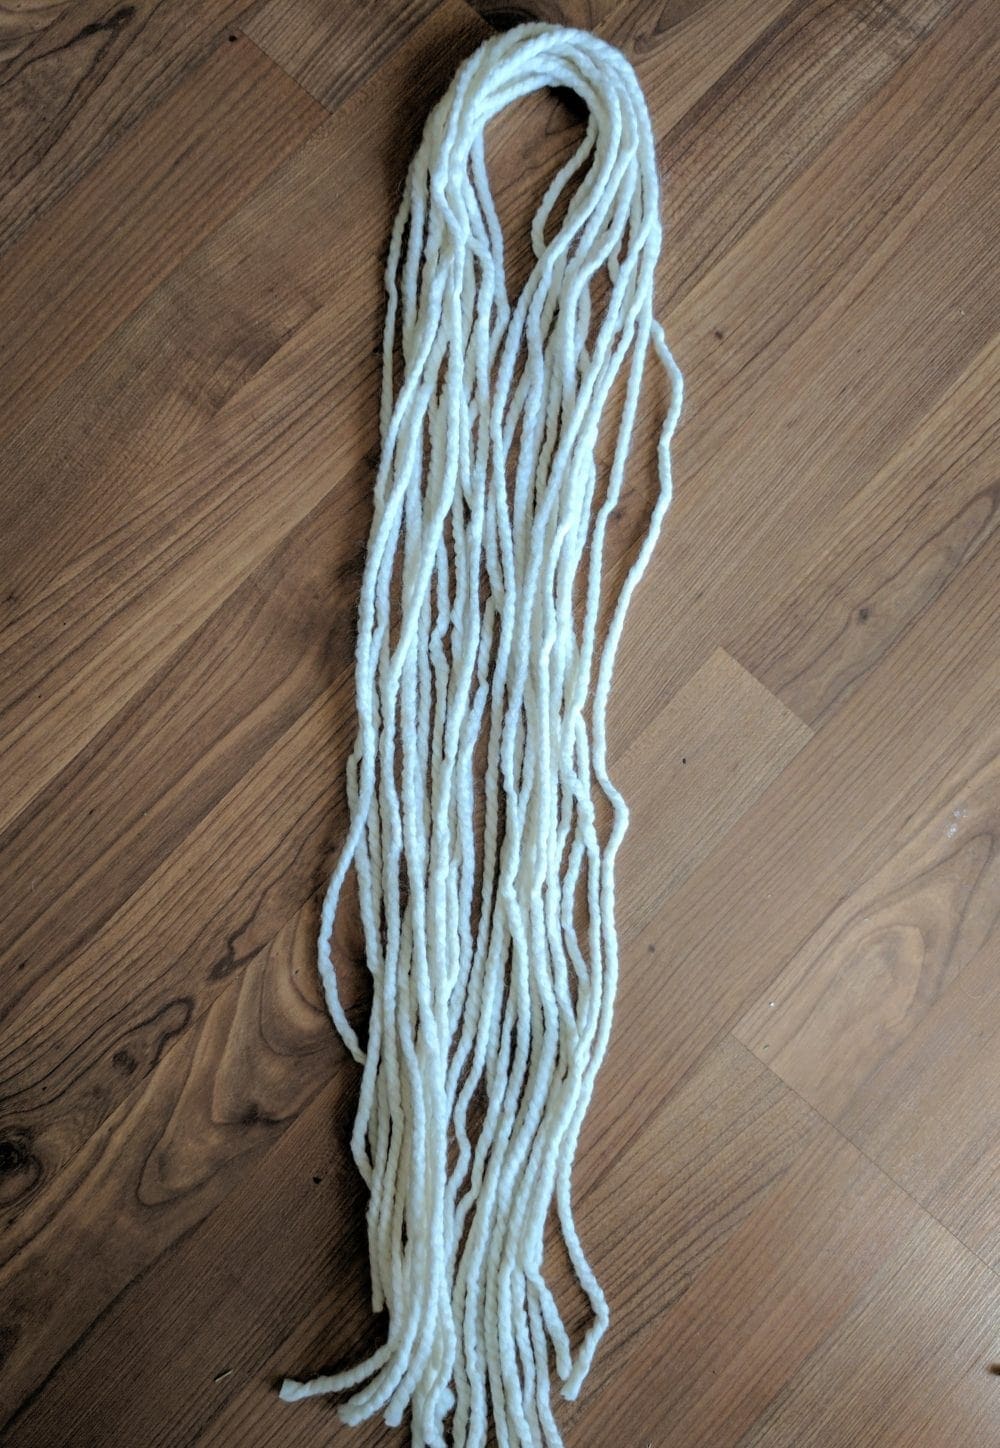
Determine how long you want your wall hanging to be. Next, cut a piece of yarn that is double that length. Use this piece as your guide to cut the rest of your pieces until you have enough to span the width of your stick.
Step 3: Tie The Knots
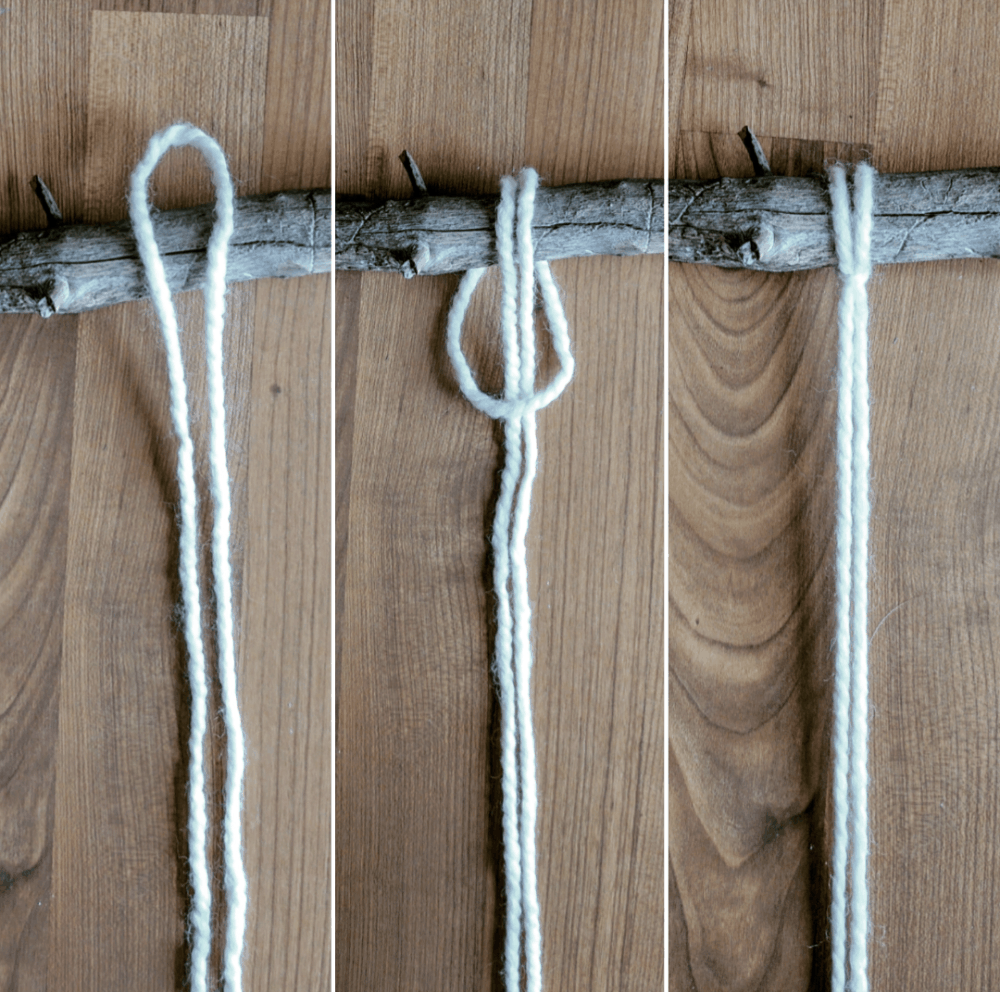
Once you have all of the yarn cut into the proper lengths, take the first piece and lay the loop over the stick. Wrap it around and pull the two ends through the loop from behind, forming a ‘knot’ in front.
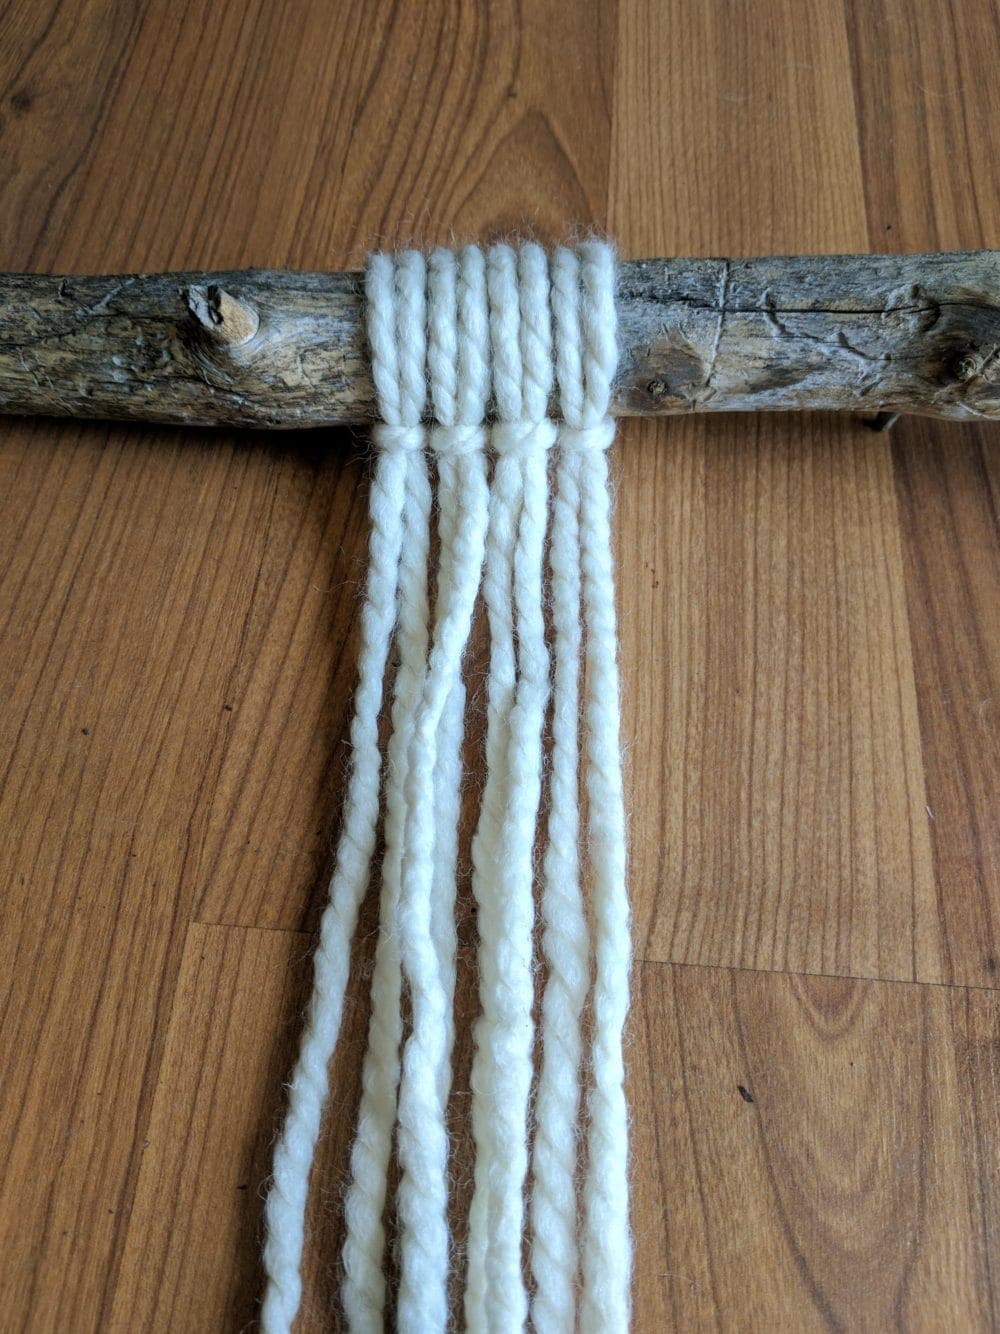
Continue this step until you have secured each piece of yarn in the pattern of your choice. It should look something like this:
Step 4: Finishing Touches
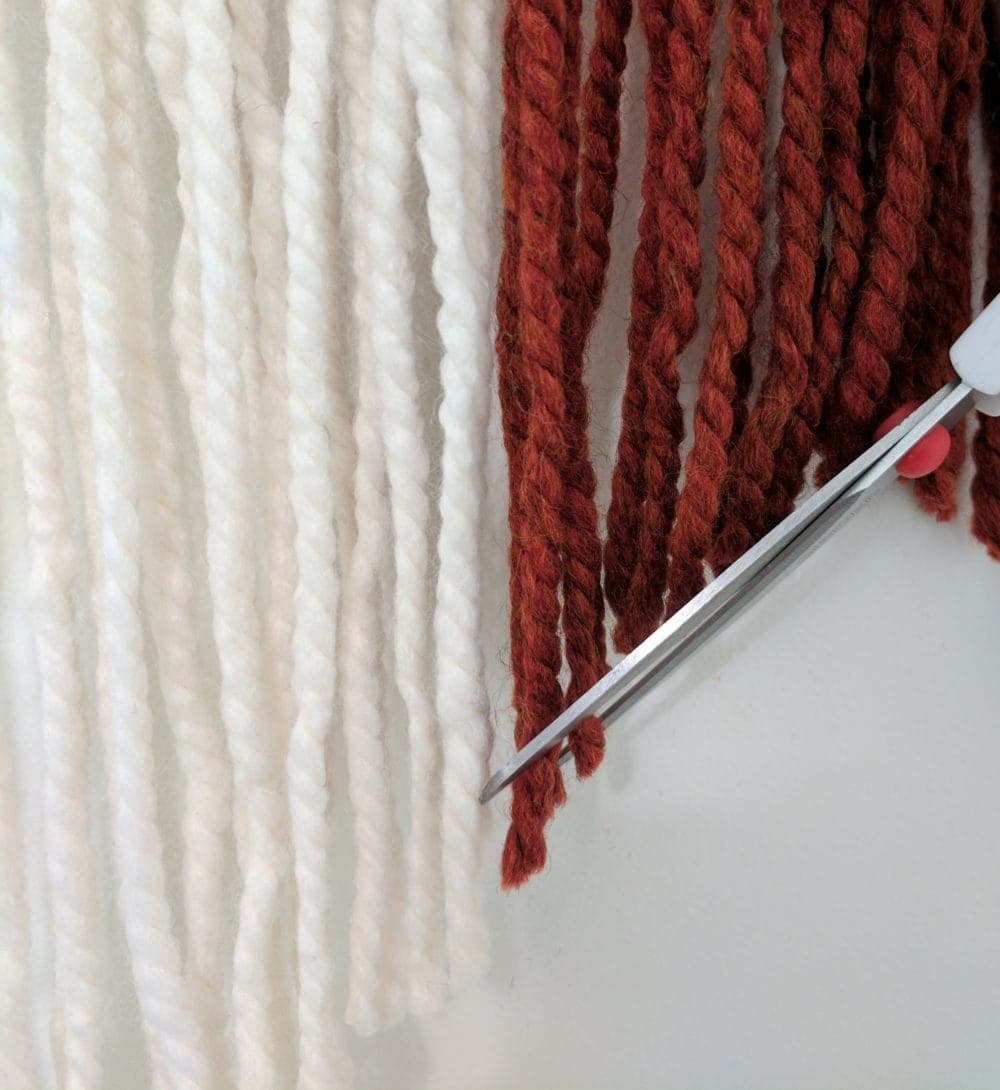
You will most likely have uneven ends after all of the knots are formed. You can either leave them that way for a ‘perfectly imperfect’ look or simply use your scissors to cut the bottom into any shape you like!
Tie some string to both ends in order to hang it on a nail and you’re done. Easy peasy!
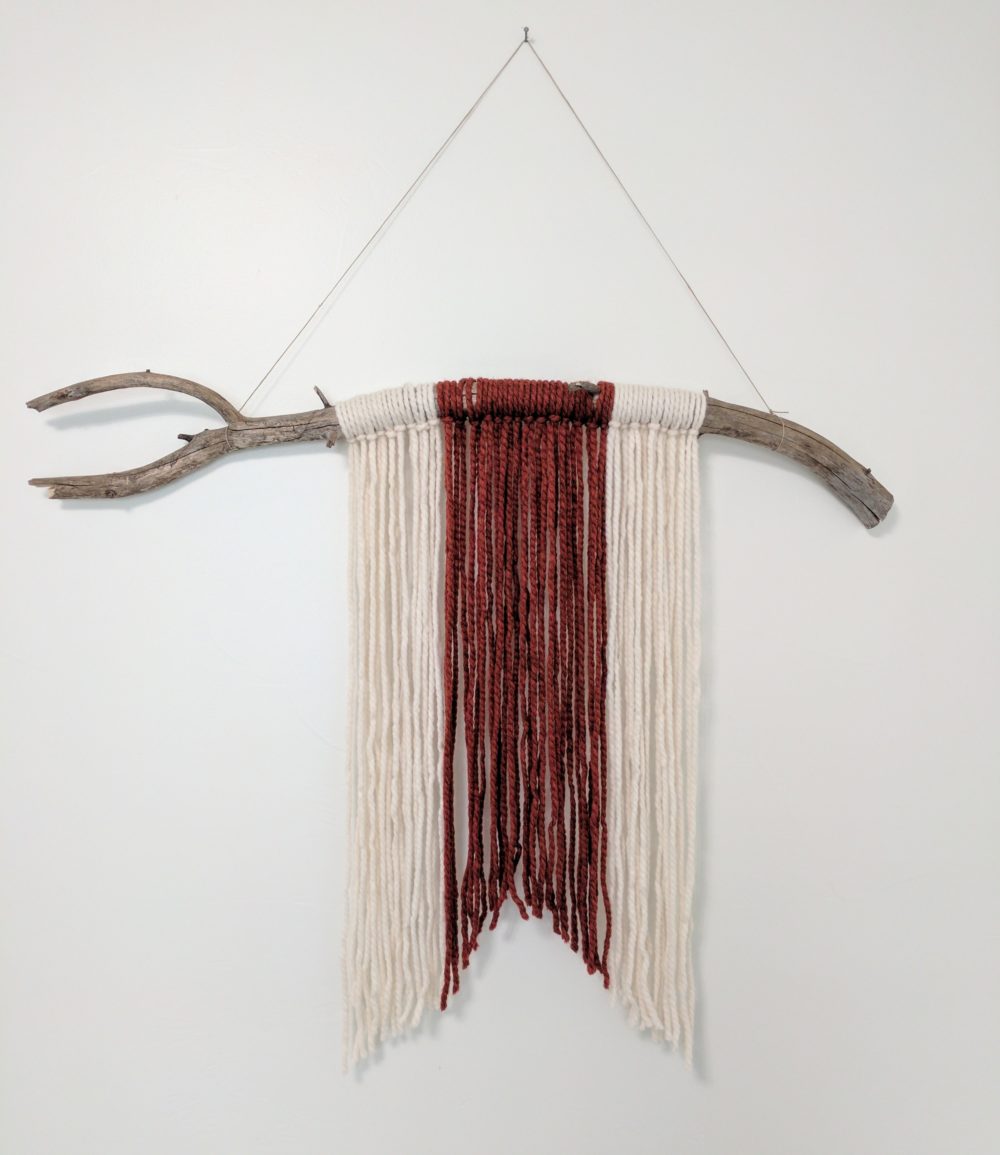
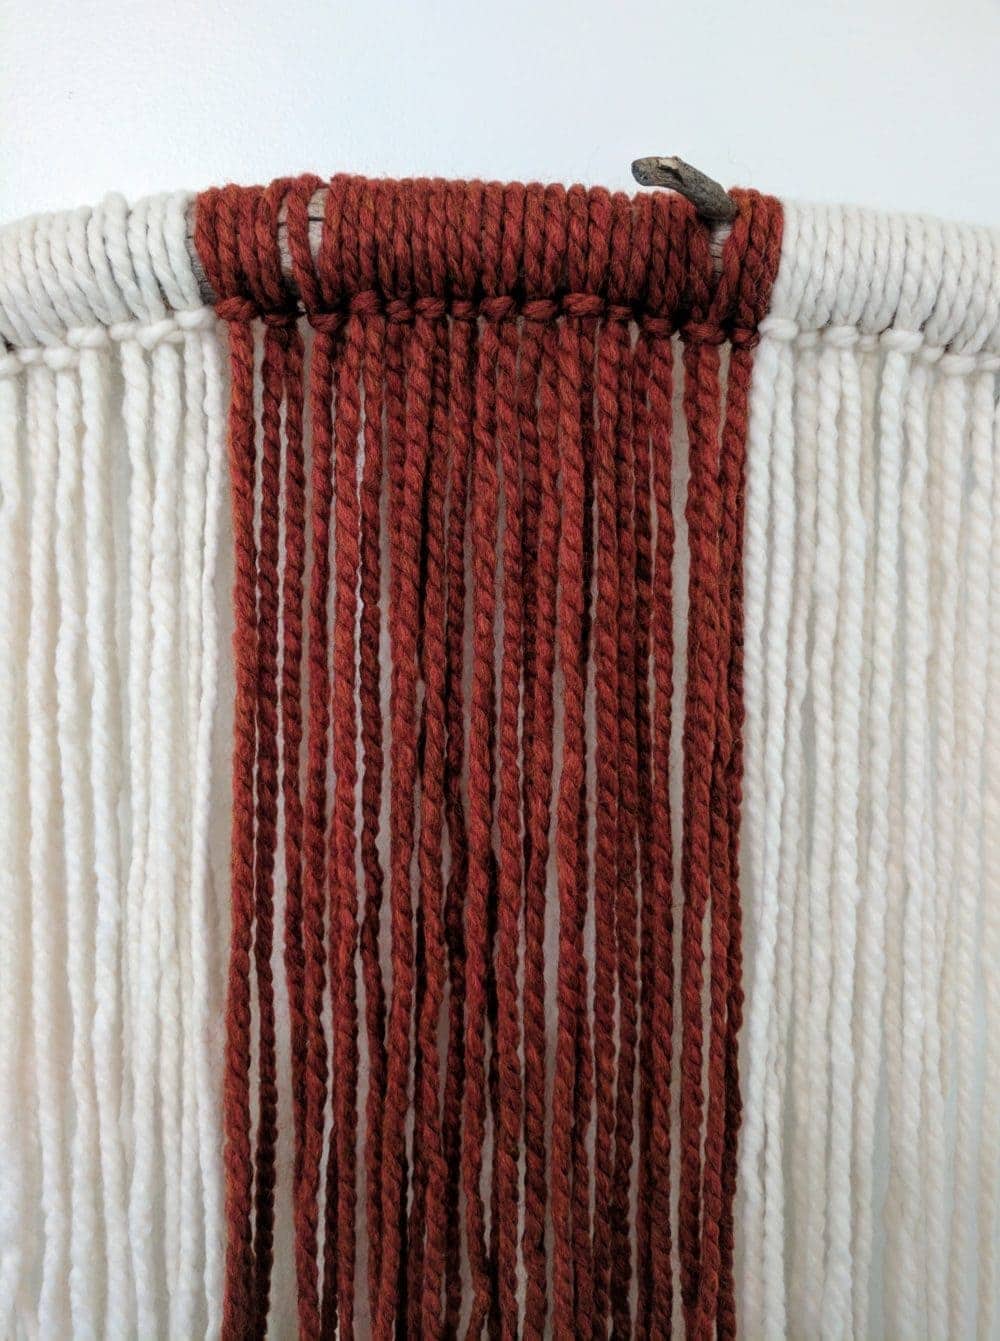
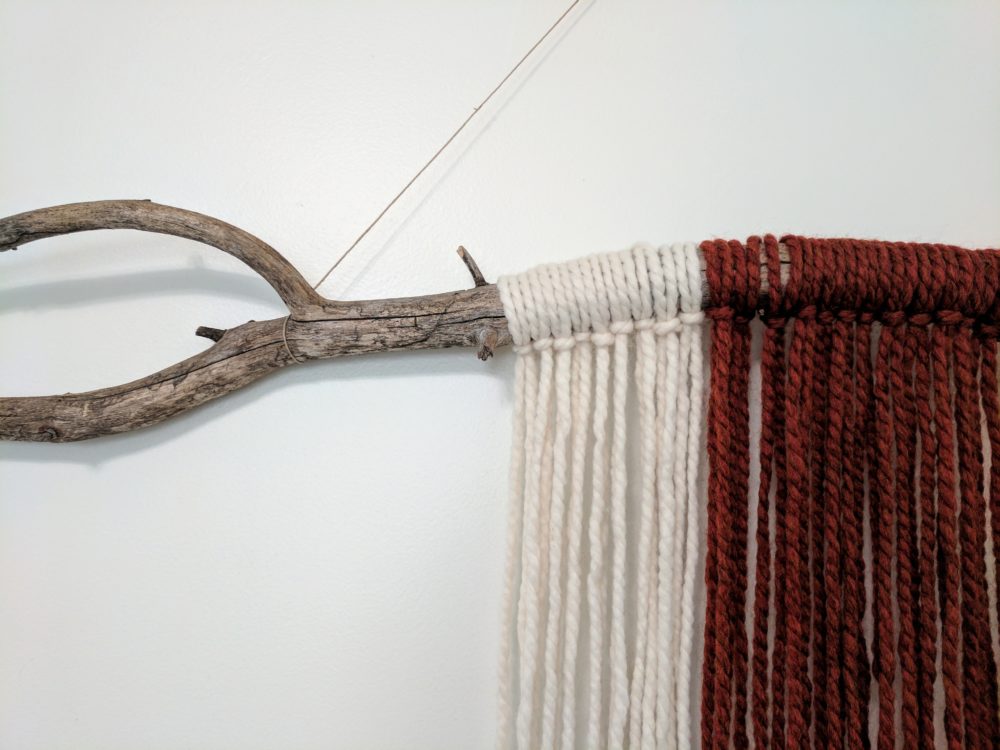
Thanks for following along with this super simple wall hanging! For more DIY inspo, checkout all of my DIY projects!
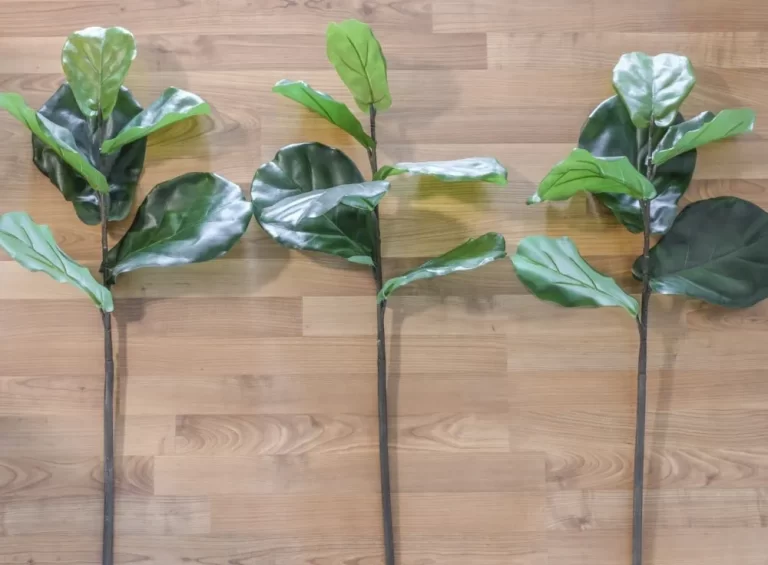
UP NEXT: Fiddle Leaf Fig Tree DIY Hack!
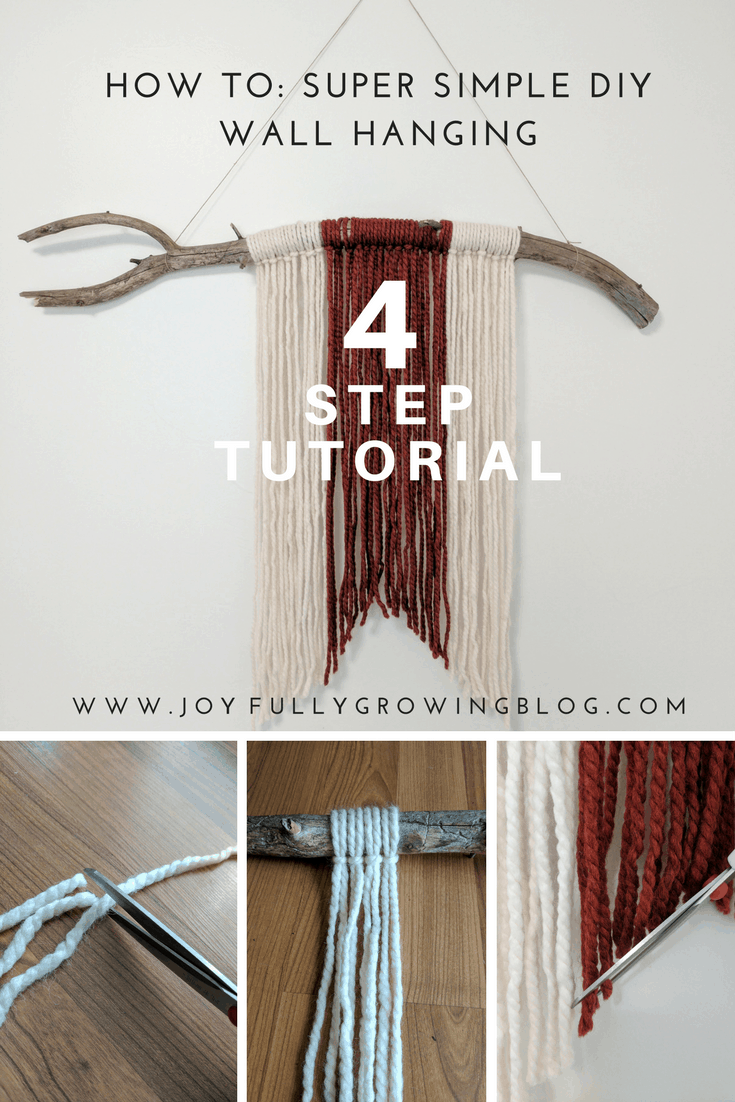
Want to save this post for later? You can pin it here:





I am definitely going to have to try this one! pinned 🙂
Yes do it! Can’t wait to see how you style yours 🙂
Super cute! So creative, but simple b
Thanks!!