How to Add a DIY Wood Frame to a Bathroom Mirror
This tutorial will show you how to make a bathroom mirror frame with wood that looks amazing. It’s an easy DIY project that can make a big difference in a bathroom! This wood bathroom mirror frame project can be accomplished in a weekend.
Framing A Bathroom Mirror
We’re back with another DIY project from our budget bathroom makeover series! Check out how everything turned out in the final reveal! Today, I’m showing you how we added some farmhouse charm by installing a rustic wood frame around the existing bathroom mirror.
Goodbye builder-grade bathroom mirror, hello character! This home renovation project is relatively easy and cheap, but makes a big difference.
This site uses ads and affiliate content as an Amazon associate earning on qualifying purchases. Disclosure.
As I mentioned in the beadboard wallpaper post, the goal for this bathroom makeover was to spend as little as possible. To make the budget stretch as far as possible, we chose to do several DIY projects.
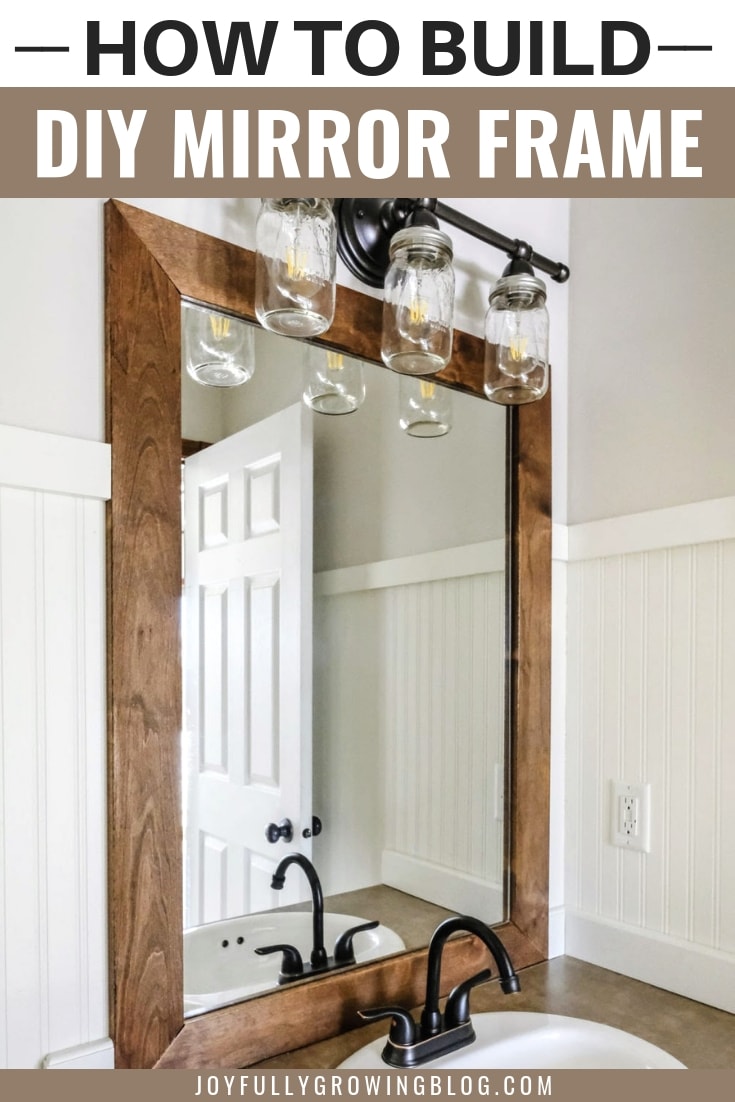
Instead of replacing the existing mirror with something new (mirrors can get a little pricey!), we grabbed a couple of boards and added a bathroom mirror frame to give it an updated look – DIY style! Super simple and affordable. Check, check!
Here’s how we did it!
How To Add A Bathroom Mirror Frame
Supplies Used:
- 1″ x 4″ boards
- Minwax Wood Stain – Early American
- Polyurethane with Clear Satin finish
- Foam paint brush
- Miter Saw (or to do it by hand, a Miter Saw Box and Hand Saw would also work)
- Caulk gun
- Liquid Nails (or any construction adhesive)
Step 1: Measure and Cut the boards
To ensure proper fitment for the bathroom mirror frame, the inside edges of the boards needed to perfectly match the 24″ x 36″ mirror. The top and bottom pieces of the frame needed an inside edge that measured 24″, and the inside edges of the side pieces needed to be 36″.
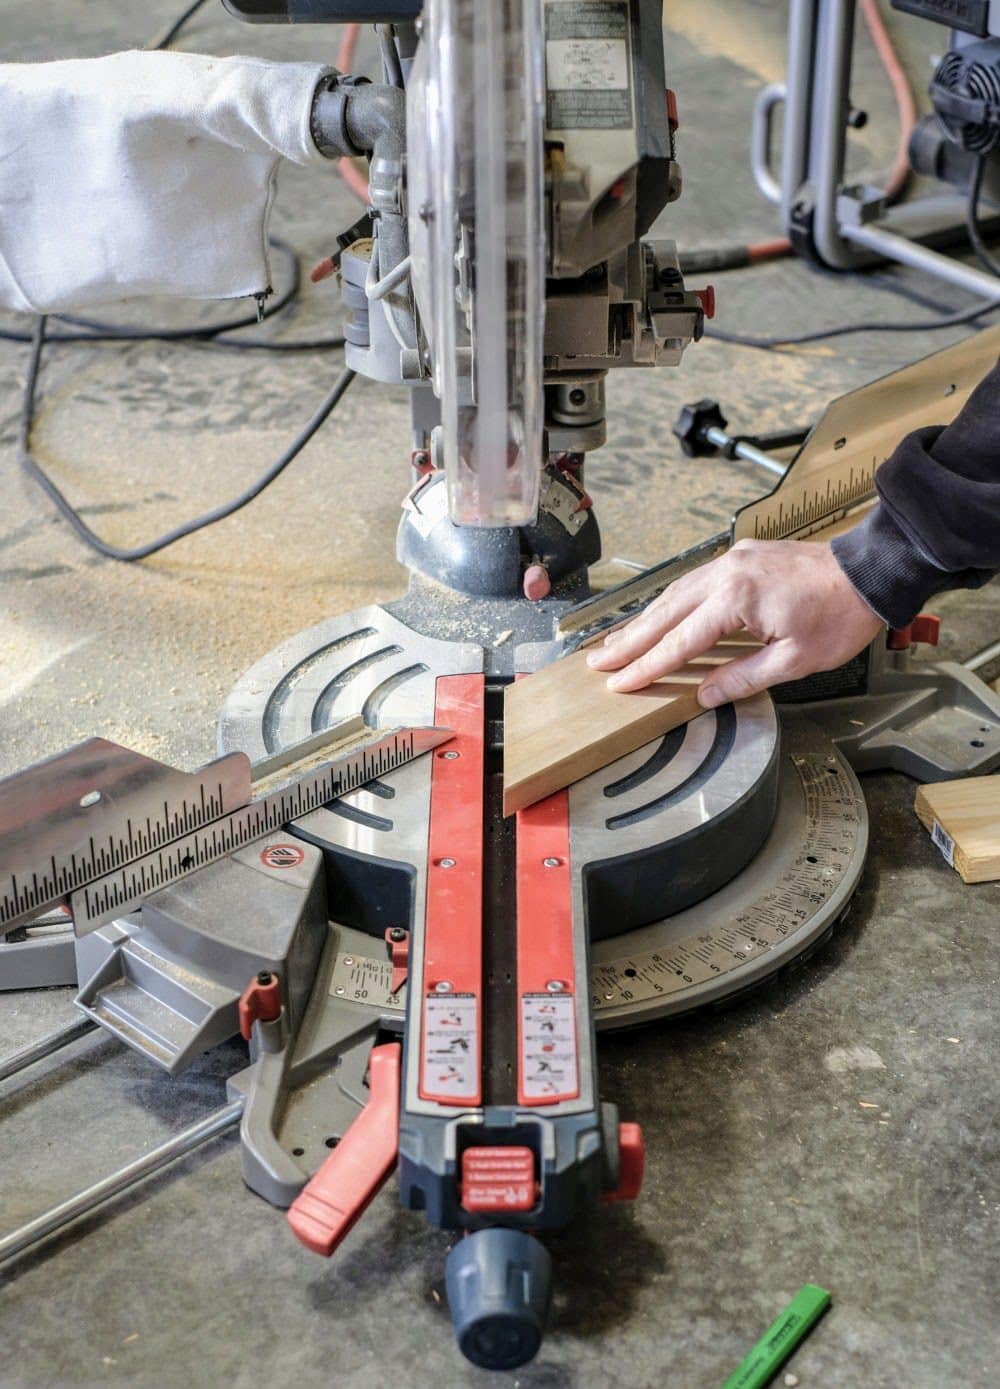
Next, we used a miter saw to make 45 degree cuts at each of the marks. Making 45 degree cuts on both sides of each board makes results in a perfect 90 degree angle when you join them together.
Tip:
Alder is a great species of wood for this project. Although it’s slightly more expensive than cheap pine boards, it tends to warp less and the wood is more uniform.
The amount of wood needed for this project is minimal, so the extra cost is worth it.
Once all of the boards were cut, we mocked them up on the wall to make sure they were going to fit. We held the boards on the wall around the existing mirror.
Don’t skip this step! If your cuts are off, even by a little bit, it can cause problems. You’ll want to know now before continuing on to the next steps.
Step 2: Sanding, Staining and Sealing
We used the trusty Dewalt Orbital Sander to smooth everything out with 180 Grit Sandpaper. We sanded the face of each board, as well as around the rough edges. A good sanding can improve the appearance of the wood, and prepares the boards to accept stain and sealant.
Once the wood was nice and smooth, we applied Minwax Wood Stain in Early American with a foam paint brush.
After the wood stain had fully dried after about 8 hours, we sealed the boards with two coats of Minwax Polyurethane Clear Stain. The sealant needed to dry overnight, and then it was time to put the boards up.
Step 3: Glue The Frame To The Wall
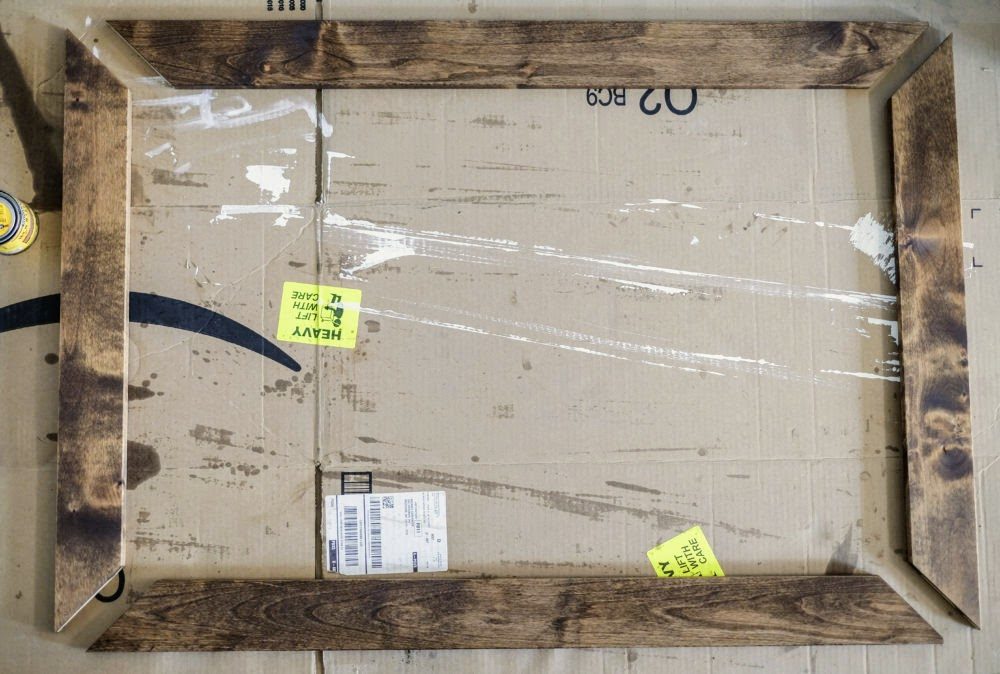
The goal for this bathroom mirror frame project was to keep everything as simple and easy as possible. Instead of nailing the boards to the walls, we decided to use construction adhesive to mount the boards to the wall.
Gluing the boards right to the wall eliminates the need to find studs, and saved us from having to fill nail holes on the frame.
Plus, our existing mirror was also glued directly to the wall, so this option made the most sense.
Construction adhesive is extremely strong, and the frame will hold securely to sheetrock permanently. This can also be somewhat of a con if you think you might need to remove the frame eventually.
Use small trim nails to fasten the frame to the wall if you want to be able to remove the frame with minimal damage to the wall.
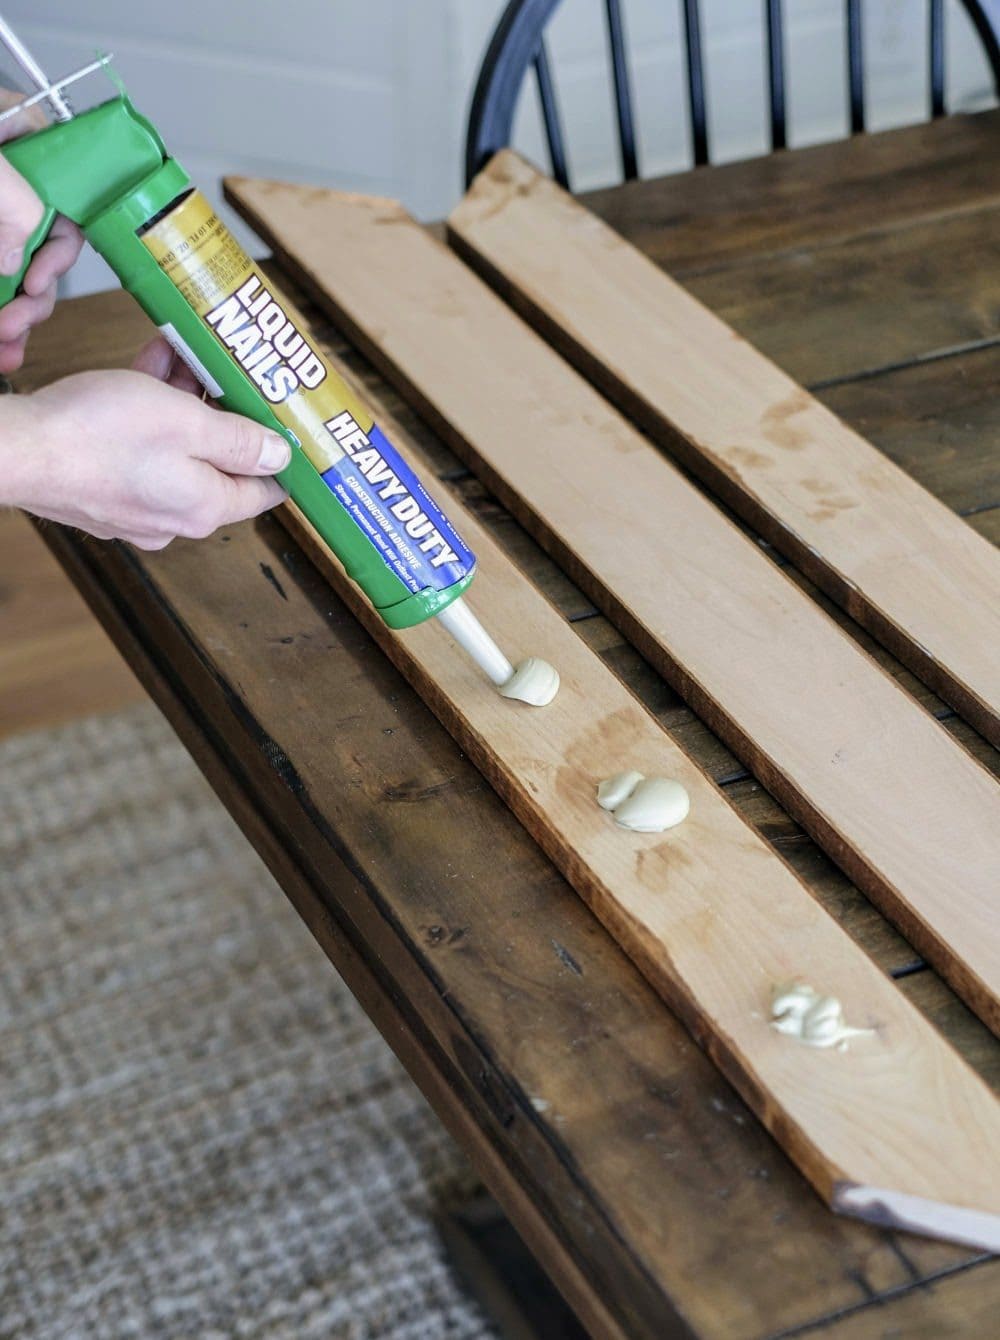
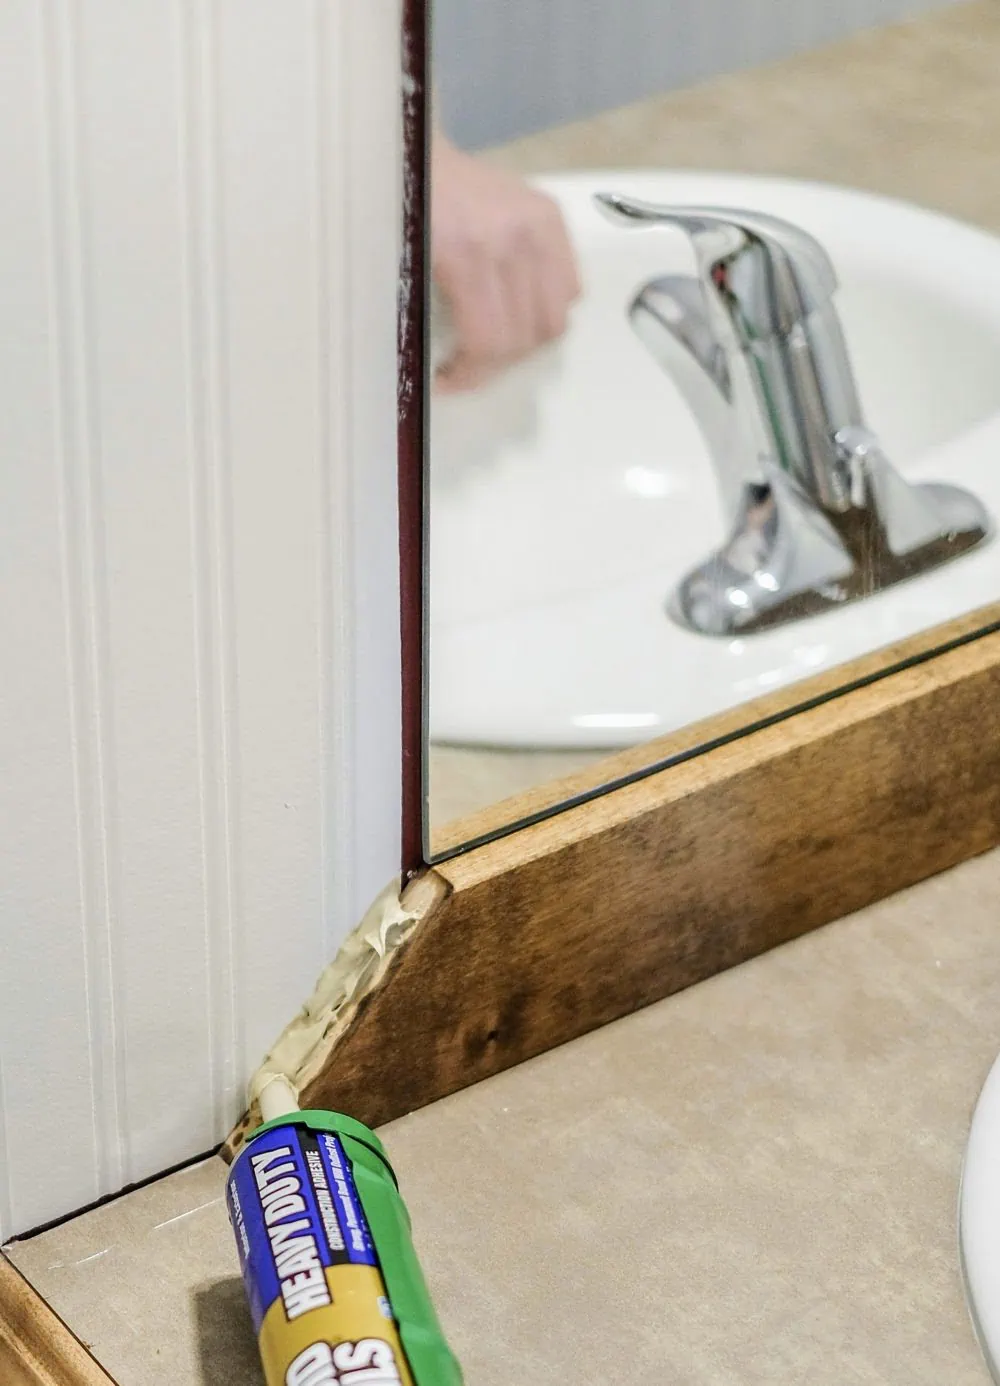
This was the trickiest and least forgiving part of the whole process. We needed to use enough adhesive to keep the boards held securely in place, but not so much that it would ooze out the sides (and make a mess all over our newly wallpapered walls).
We put small dollops along the back of each board and placed them on the wall, one at a time.
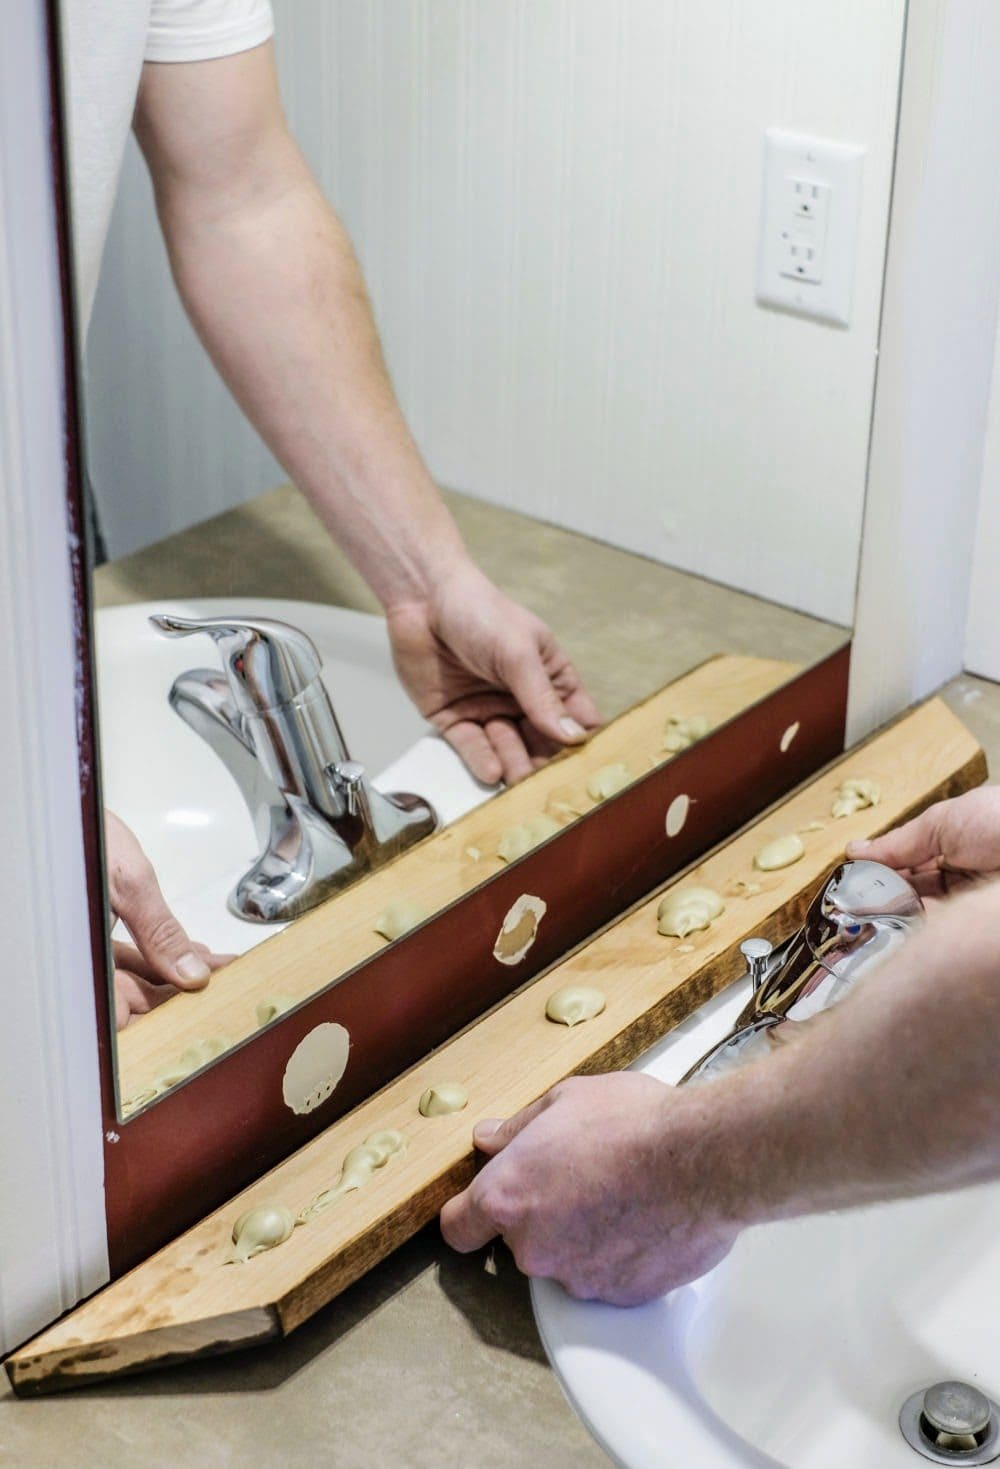
You can see in the photo above that the old trim piece from the vanity had been installed with construction adhesive as well.
I wanted to point that out to show what it looks like when you remove boards that are glued to the wall. Not too destructive and the glue spots can easily be sanded down and painted if you decide to switch things up down the road!
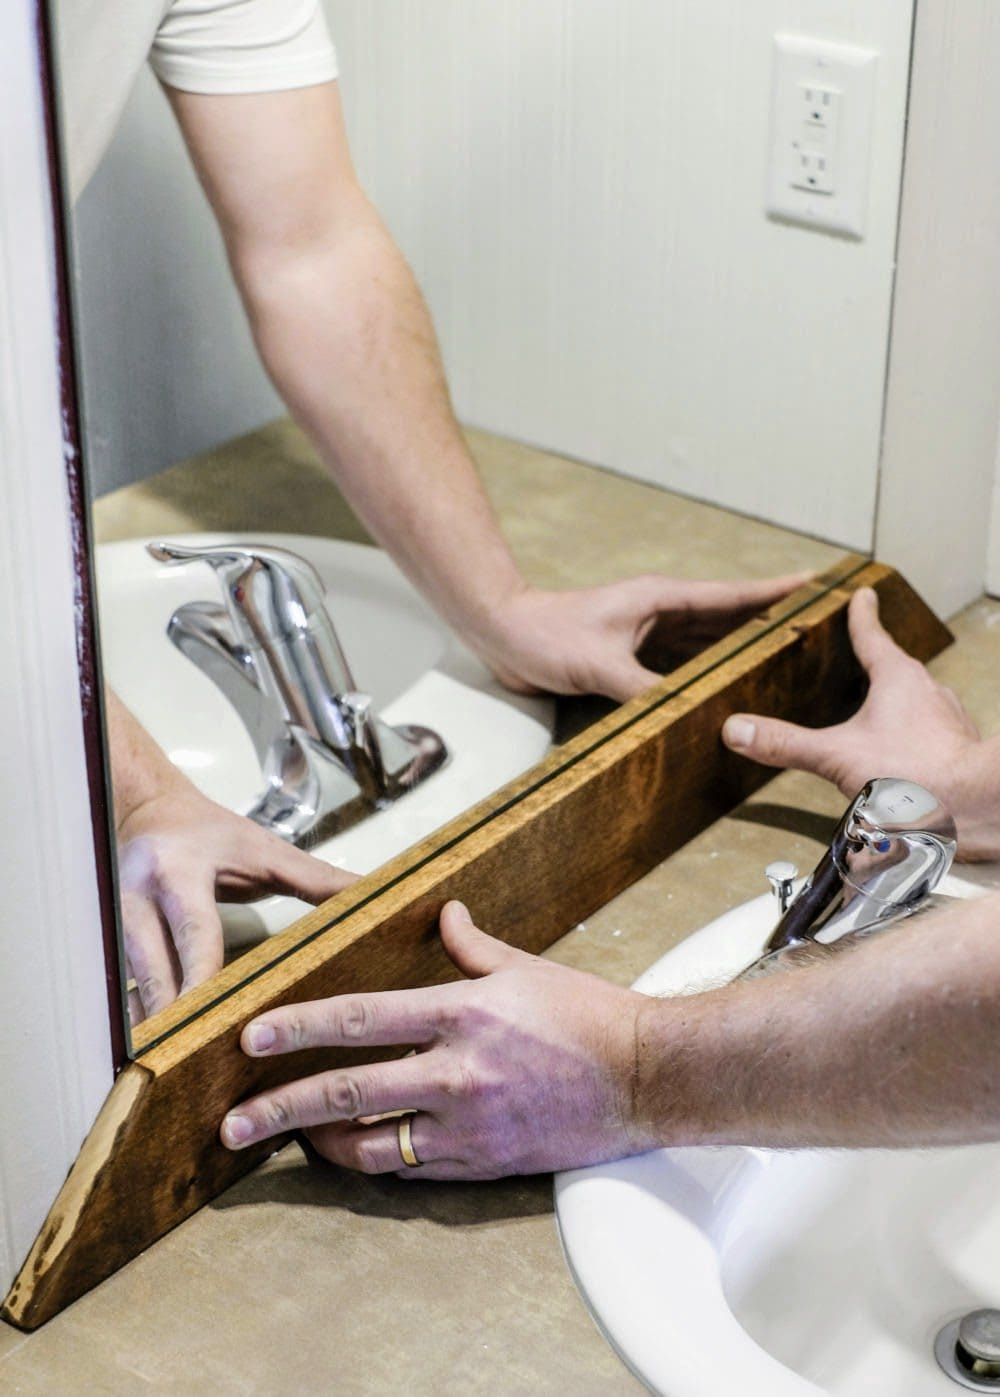
We also placed a small bead of adhesive along the edges where the boards came together…
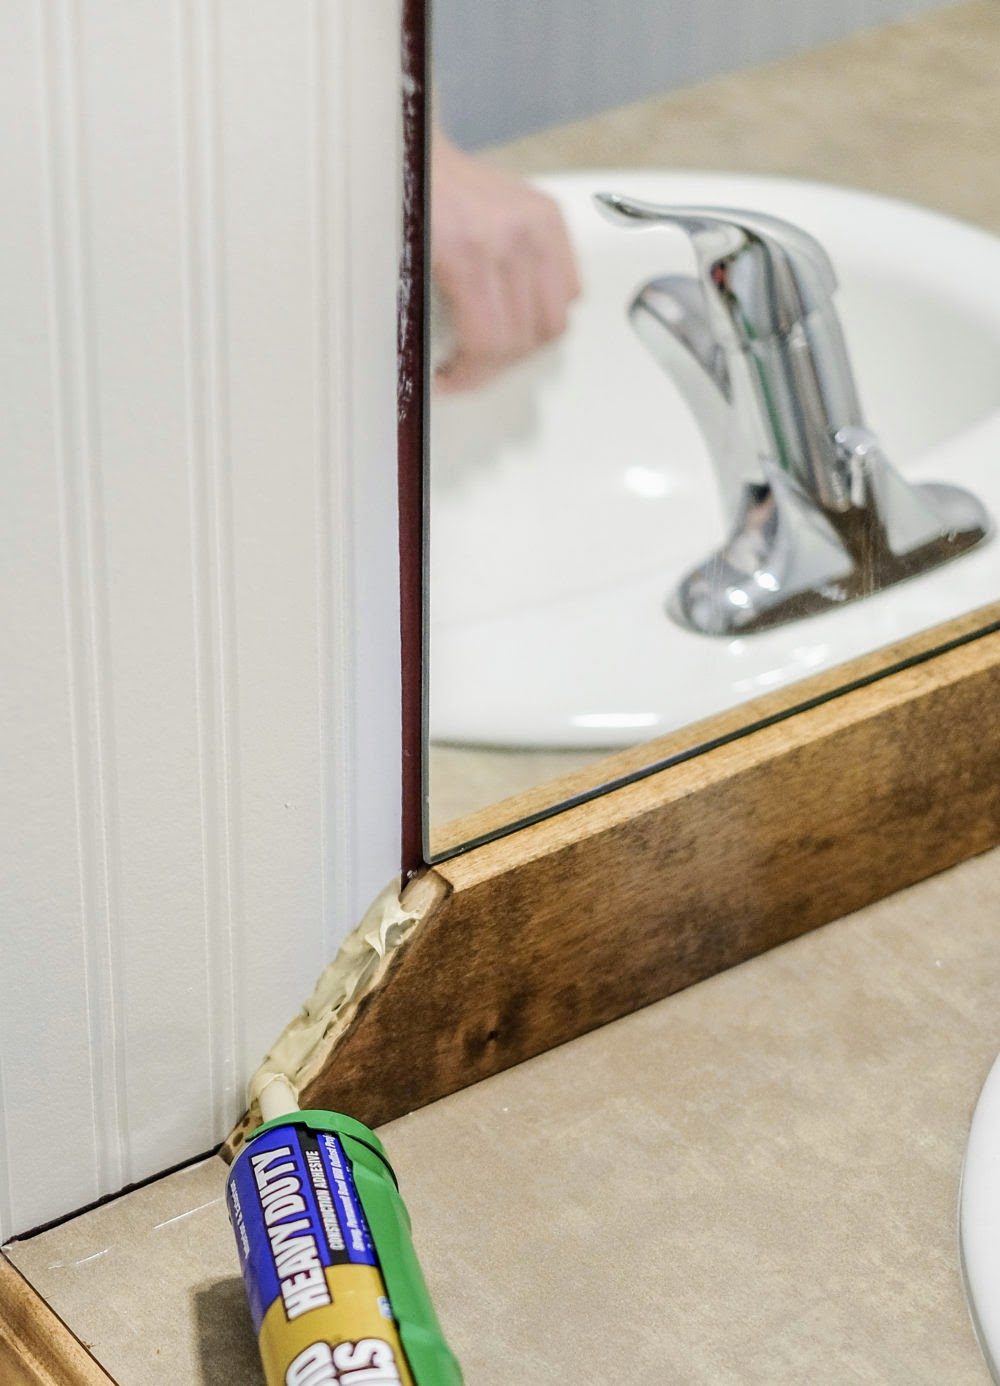
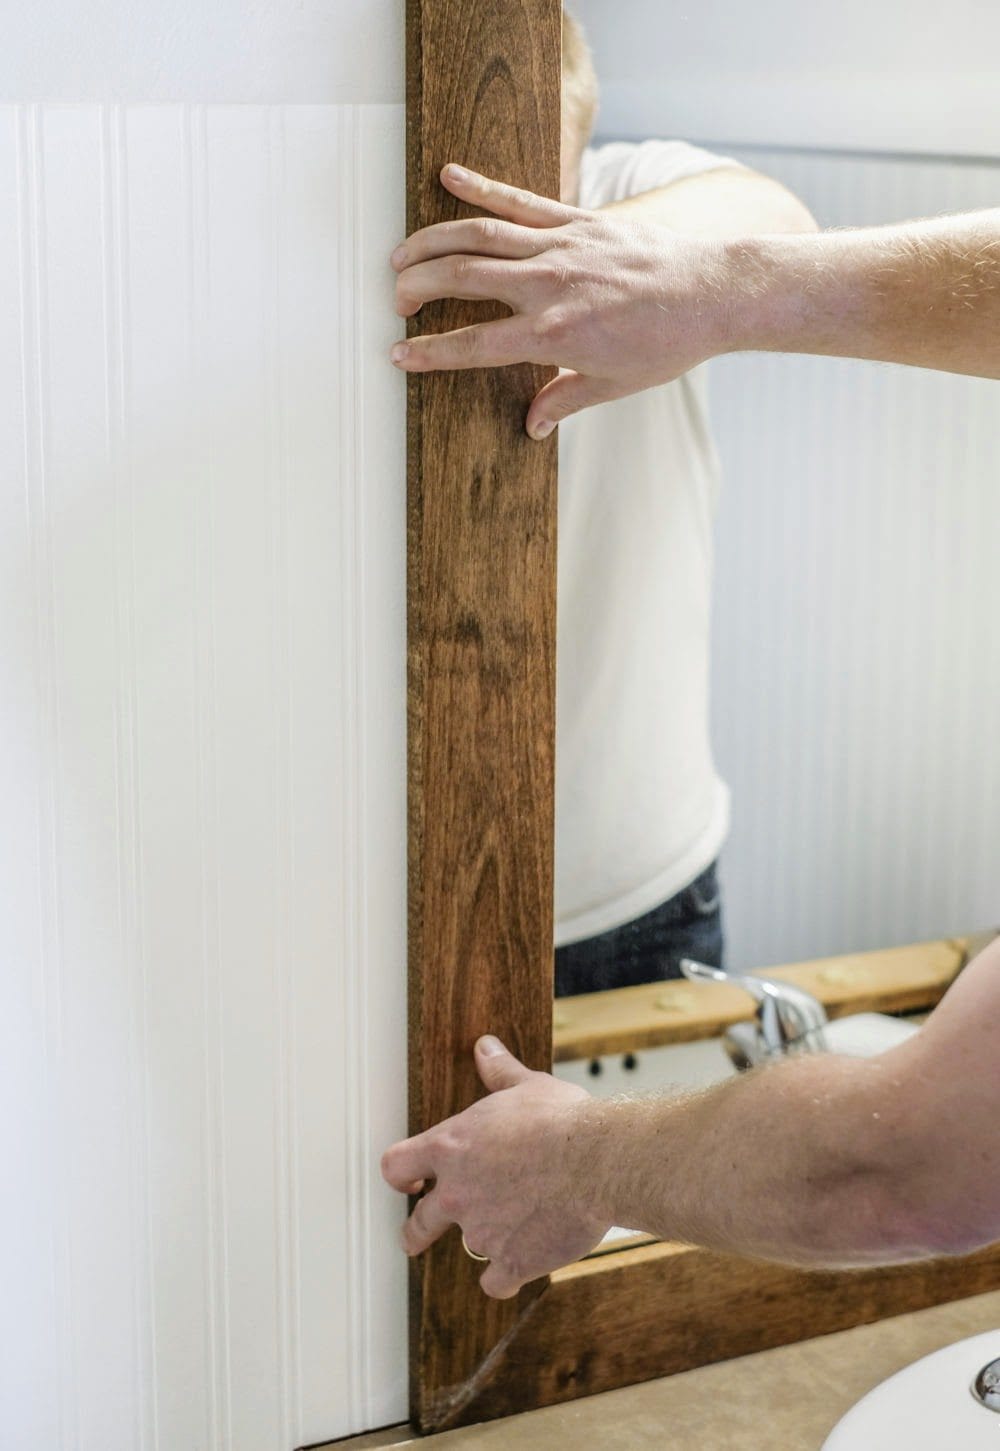
The glue between the boards helped hold them together and made a finished-looking seam. As we pushed the boards together, some of the glue oozed out but we were able to easily wipe it clean with a wet rag.
Once all of the boards were exactly where they needed to be, we held them in place for about 5 minutes allowing the adhesive to dry.
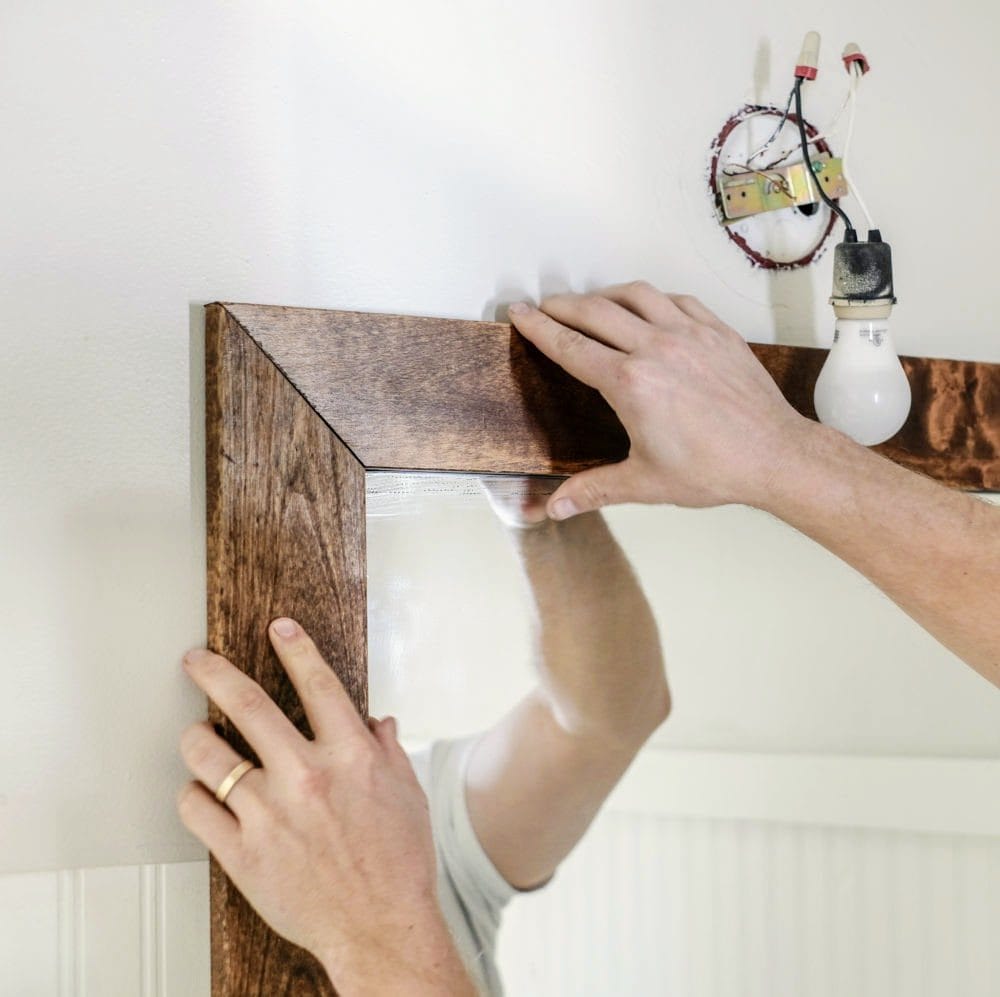
After 5 minutes was up, the hard part was over and our bathroom mirror frame upgrade was complete!
Related: How to Update Your Builder Grade Light Fixture For FREE!
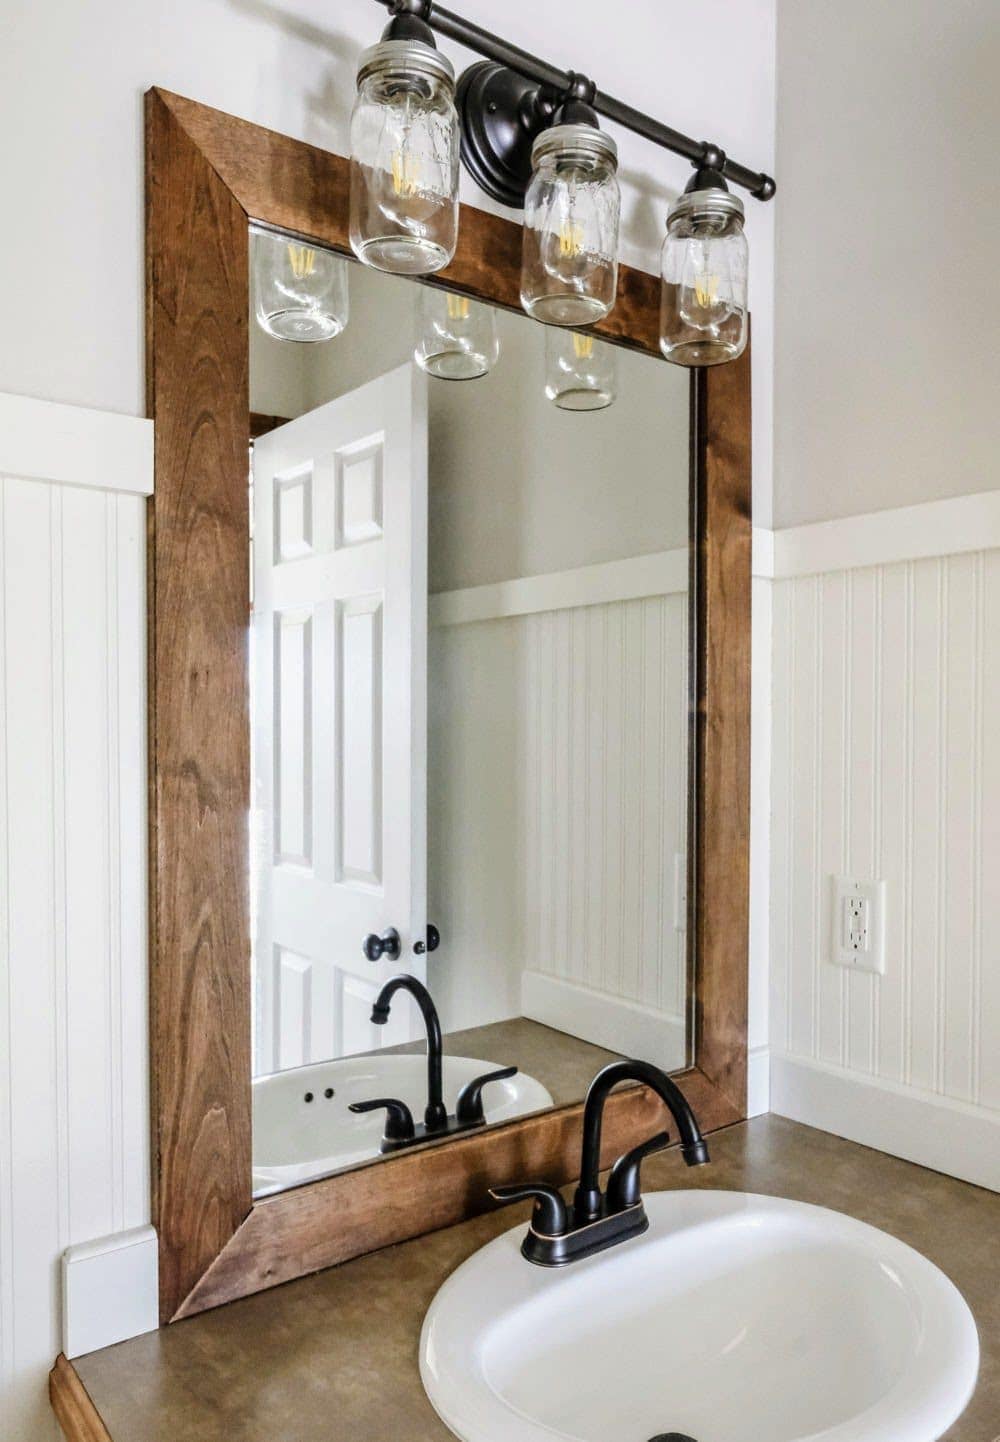
See the tutorial on that cute mason jar light fixture here! Besides the Edison light bulbs, the entire thing cost me $0! Yup, FREE.99! Check out the full reveal of this farmhouse bathroom makeover on a budget here!
Want my A-to-Z blueprint on how to design a room that’s beautiful and stylish?

Pin this post for later!



Hi there! Great post. I would like to do this to my mirror, but the previous owners framed the mirror with small tiles. Any ideas on how to remove the tiles without breaking the mirror?
Hi Amy..I love the frame around the mirror,looks so nice..Since I am doing this project myself.I have a question.after you measured and cut the wood for the frame. How much of the mirror edge did the wood frame cover?Looking forward to starting this project..Thanks
We butted the frame right up against the edge of the mirror, it did not go on top.
I do not have enough room to glue the board to the wall. Is it safe to glue the boards to the mirror since it is adhered to the wall, It was put on the wall in 1983 – and is solidly on there lol..
I think it should work just fine. If it was me, I would try it!
Gluing things to the wall seems like a good solution at the time. But when you want to change it a few years from now you have a REAL mess trying to get it off your walks. A previous owner of our home glued hollow wood beams to the ceiling and we have scraped, primed, and repainted whole ceiling five years ago. The glue color is still sealing through more and more. You can’t get rid of it. Temporary good solution to glue but for future purposes a nightmare!
Thanks for your opinion, however we have not had that experience. The old laminate backslash that was behind the sink was glued on, and we were able to easily take it off and then used a sander to remove the glue residue pretty quickly.